
PhotoCraft Online Editorial Team · Updated:
Edit PSD Online: Layers, Changes and Export
Learn a careful PhotoCraft PSD workflow: check the initial render, find editable layers, change text or imagery, and verify both a project save and image export.
You can try editing a PSD in PhotoCraft Online, but a successful open is only the first check. Compare the initial appearance, inspect the layers, make one change, and verify the downloaded result. Save a layered project separately from a PNG or JPEG; a flat image is not a PSD that another designer can continue editing.
This v0.5.0 guide gives you a cautious PSD workflow: compare the starting image, find the layer you need, make one small change, export a preview, then test the editable file separately. The upstream project remains alpha. Keep an untouched copy and test your actual template before committing to a deadline; do not treat a PhotoCraft-only save as a Photoshop handoff until the recipient has reopened it.
Two-layer browser check
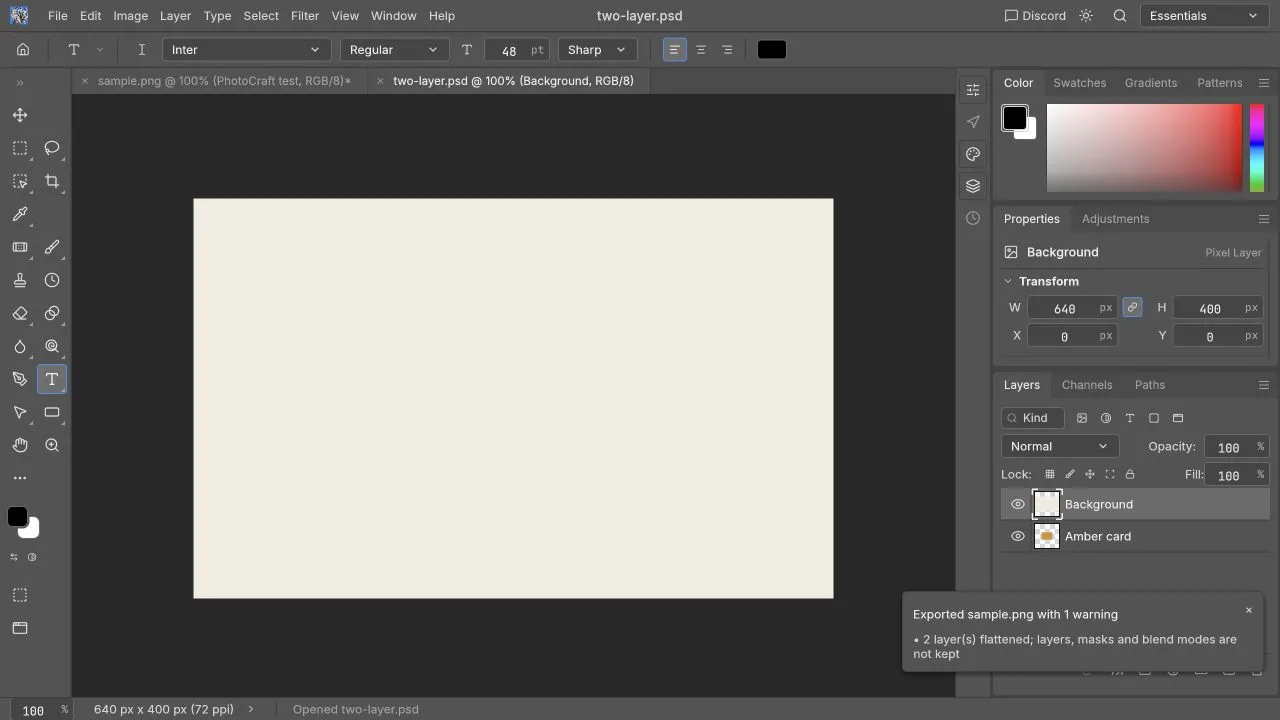
On October 10, 2026, we opened two-layer.psd, a locally generated 640 × 400 RGB 8-bit file of 1,704,206 bytes with two ordinary pixel layers named Background and Amber card. The environment was macOS 26.2 (25C56), Codex in-app Chromium, 1280 × 720 viewport, local official v0.5.0 Web runtime. The browser engine version and actual graphics backend were not independently recorded.
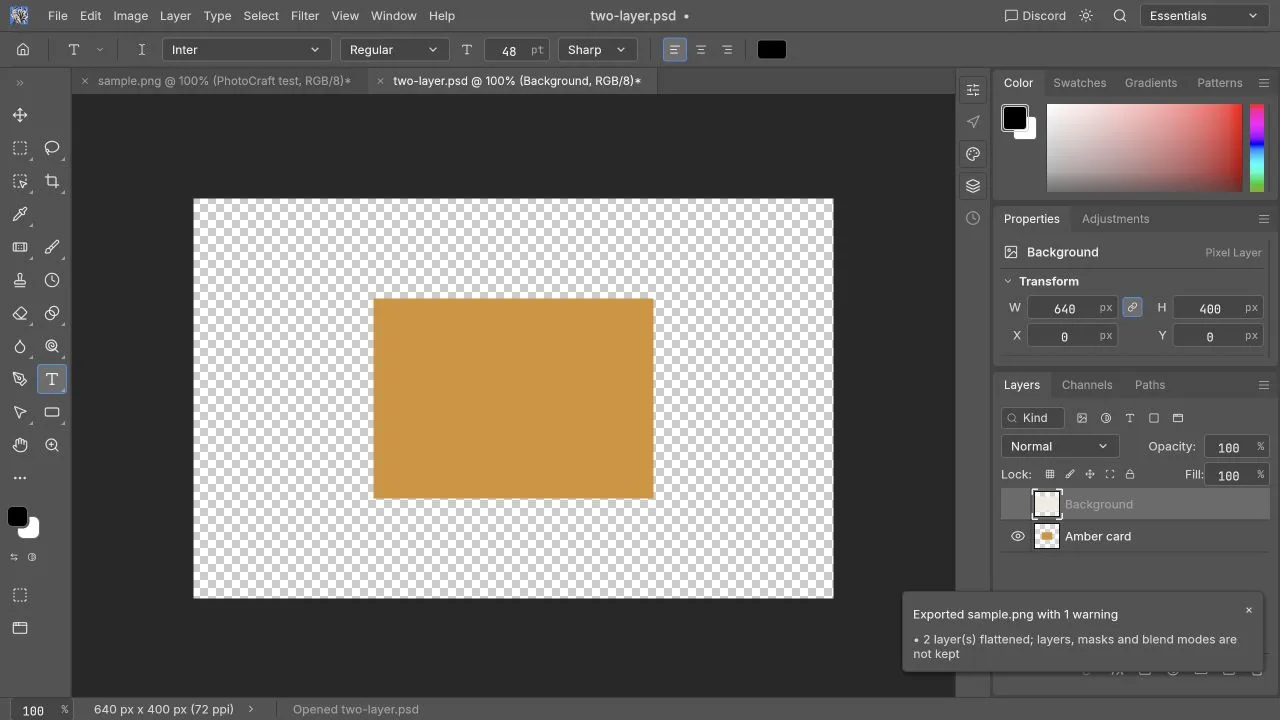
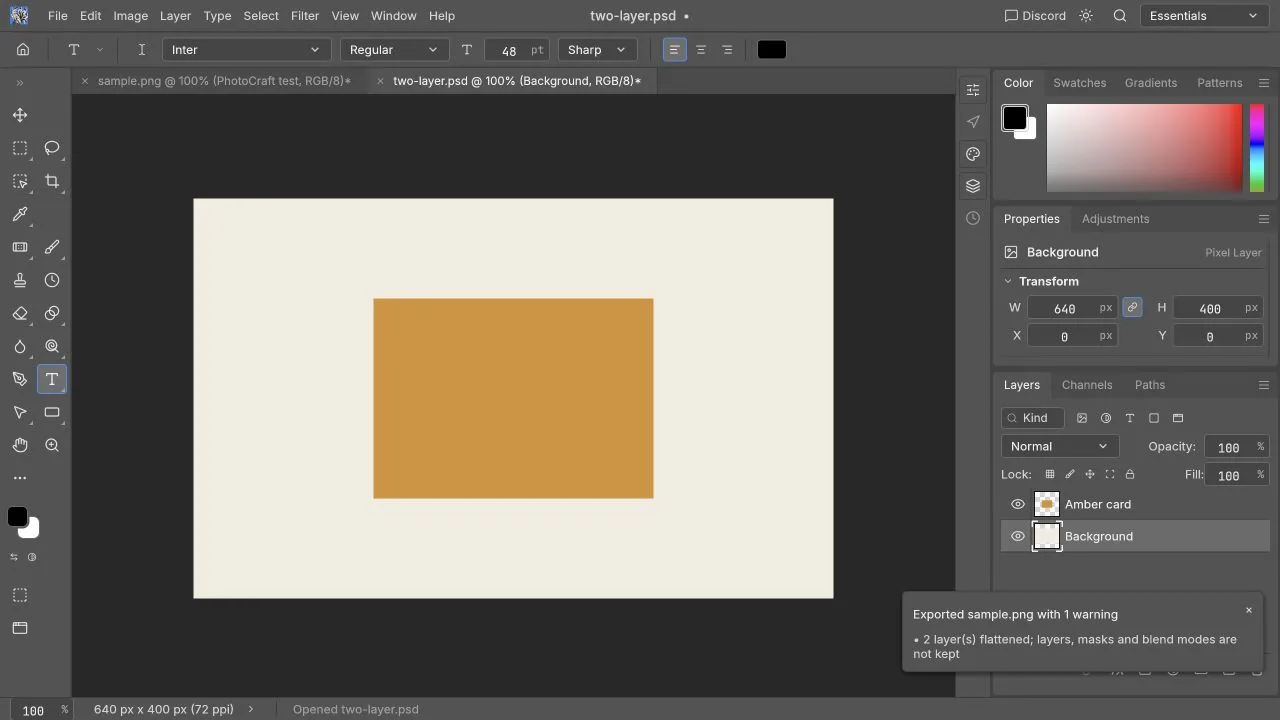
Both layers appeared, but Background initially covered Amber card, contrary to the embedded composite. Hiding Background revealed the amber rectangle over transparency. Dragging Background below Amber card produced a canvas visually matching the PNG sample (640 × 400, 3,390 bytes).
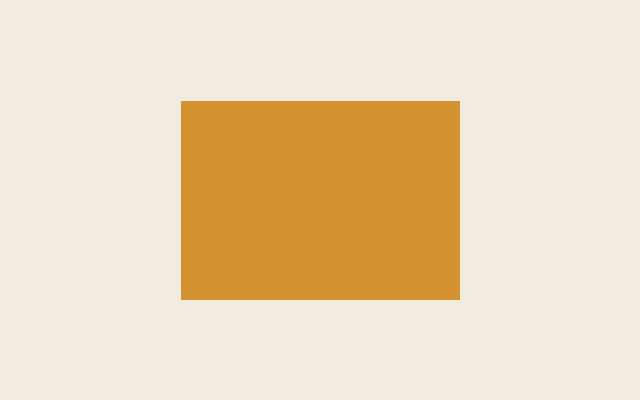
The discrepancy is unresolved: it may be fixture encoding or importer behavior. This synthetic file is not Adobe-authored, and this check does not validate imported text, masks, styles, smart objects, complex PSDs, or saved-PSD interoperability.
What does “edit a PSD” actually require?
There are three distinct levels of success. A reader may display the merged preview without exposing the intended layers. An editor may let you change some layers but render a font or effect differently. A saved PSD may look right here yet behave differently in the application used by your recipient.
| Requirement | Evidence to collect |
|---|---|
| Opens correctly | Starting canvas matches a trusted preview |
| Remains editable | Required text, masks, groups, and objects remain available |
| Produces the final image | Export has correct dimensions and visual appearance |
| Can be handed off | Recipient's intended editor reopens the project correctly |
PhotoCraft's PSD notes report document sample testing, but that is not a guarantee for your file in this browser editor. They also distinguish saves that preserve the visible result from parser-level byte-for-byte checks. Official PSD support explanation
Prepare your document and a reference
Use a copy of the PSD. If possible, obtain a PNG or JPEG exported by its creator before editing. Ask which font was used, which layers are meant to change, and what output is expected. A flattened preview helps compare appearance; it does not replace an editable source.
For a first attempt, prefer a small document with a background, a photograph, and a title. Record its pixel dimensions, file size, approximate layer count, and origin. Those details make any later failure report useful. Never upload a sensitive client file merely to demonstrate a bug; create a sanitized reproduction when needed.
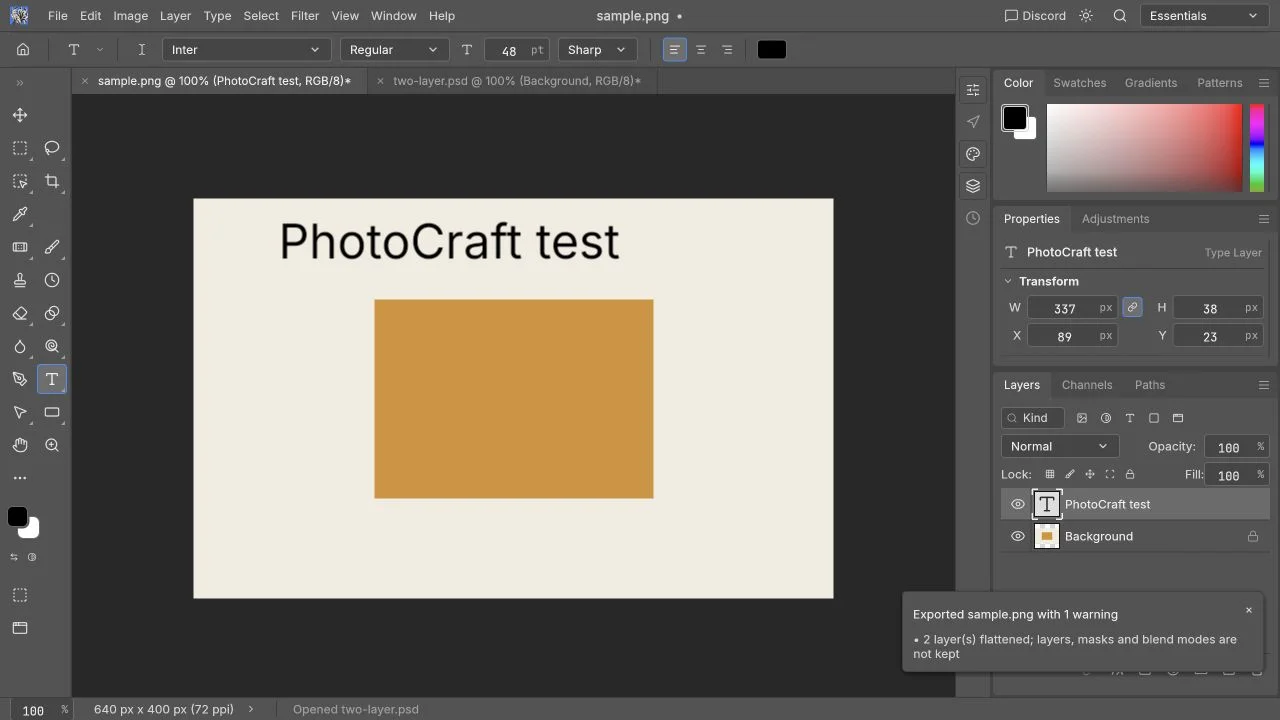
This workspace image shows where you will inspect a document and its tools. It is not a Photoshop comparison or proof of complex-PSD compatibility. Imported PSD text and editable-save handoff still need their own checks.
1. Open and compare before changing anything
Use Open inside the editor and choose the PSD copy. Wait for the canvas to settle. Compare the background, text, colors, transparency, and important effects with the reference at a comparable zoom.
Expected result: the starting image matches closely enough for your task, and you can identify its document dimensions. If the file looks wrong before any edit, record the difference immediately. Editing over an import discrepancy makes it harder to distinguish compatibility problems from your own changes.
If it fails: test a smaller PSD or a simple image to separate document problems from editor-loading problems. See troubleshooting. Do not flatten the original as a supposed compatibility fix if you still need its layers.
2. Find the actual layer to change
Inspect the Layers panel, expand groups, and toggle the candidate layer's visibility. Watch which part of the canvas disappears. Use Undo if you accidentally change something, and give the working copy a distinct name.
Expected result: you can connect one layer with one visible part of the design. A group, clipped layer, or masked object may depend on adjacent layers. Move slowly rather than deleting everything that seems unused.
If it fails: text that appears in the image may be rasterized, embedded in another object, or hidden inside a group. A layer named “Title” is not proof of editable text. Consult the layer and mask guide before changing its structure.
3. Modify a short piece of text
When the title is an editable type layer, select it and use the Type controls to change only a few words. Preserve the original font and size initially. Check whether the new words fit the existing text area and whether the line breaks change.
Expected result: the new text appears without altering unrelated layers. The upstream project documents editable type and PSD type-layer handling, but a matching font and matching browser rendering remain document-specific checks. Official type overview
If it fails: use a shorter phrase, check the font, and verify you are editing the right layer. For missing Chinese glyphs or substitution, see fonts and Chinese text. If text is rasterized, replacing it requires rebuilding that part of the design; typing cannot restore the original editable text.
4. Change imagery without assuming smart-object equivalence
Start with a modest move or scale of an ordinary image layer using the controls available in your build. If replacing a photograph, preserve a duplicate or the original source. Check which clipping masks and layer masks determine the visible region before moving the image.
Expected result: the intended photo changes while the frame, text, and background remain intact. Inspect edges and overlap at normal display size.
If it fails: Undo and inspect the mask or clipping relationship. A template designed around an embedded smart object may require behavior that you have not validated in this Web build. Do not rasterize it as a hidden workaround when the final deliverable must remain editable. Read PSD compatibility before relying on advanced object handling.
5. Export a preview and inspect it elsewhere
Use the export action to create a PNG or JPEG appropriate for the task. Confirm dimensions, transparency requirements, and quality before downloading. Browser Save and Export actions produce downloads rather than guaranteeing an overwrite of the original local file. Official Web download behavior
Open the downloaded image in another viewer. Check text spelling, line breaks, clipping edges, shadows, colors, and exact pixel dimensions. For a transparency test, view it against both light and dark backgrounds.
Expected result: the exported picture matches the intended edited design. If it differs from the canvas, keep both a screenshot and the file; they document a different problem from import mismatch.
6. Save and reopen the editable version
Save a separate layered project in a format supported by the build. If the required deliverable is specifically PSD, make sure you selected PSD rather than another project format or a flat image. Reopen the saved file and repeat the relevant layer checks.
For client handoff, ask the recipient to open it in the application they actually use. A local reopen in PhotoCraft is useful evidence, but it does not prove the file will reopen and remain editable in Photoshop. Do not discard the original until that acceptance check is complete.
When should you stop and use another workflow?
Stop when the starting render is already unacceptable, required fonts cannot be matched, essential objects lose editability, or the recipient cannot reopen the layered result. A screenshot can help explain the problem, but it does not make the file safe to hand off.
If your deliverable only needs a finished image, a modest edit may still be useful after inspection. If it needs complex layered interchange, use the Photoshop replacement assessment to evaluate the risk. The PSD editor page links the tool with the relevant compatibility and task guides.