
PhotoCraft Online Editorial Team · Updated:
PhotoCraft Layers and Masks Guide
Understand layer order, visibility, opacity, masks, and adjustment layers in PhotoCraft, with a simple exercise and checks for PSD projects.
Layers separate the parts of an image. Masks control where a layer is visible, and adjustment layers change appearance while keeping the underlying image separate. In PhotoCraft, start by changing one property at a time and checking the canvas. Keep an editable project as well as your final export if you want those choices to remain adjustable.
Use this guide to practice one layer decision at a time. Start with visibility and order, then move to opacity, masks, and adjustments only after you can see which layer is changing. The v0.5.0 browser check recorded on October 10, 2026 covered layer visibility and ordering; masks, clipping, adjustment layers after saving, and editable saves remain tasks for you to verify on your own file.
What the layer check showed
We used two-layer.psd: 640 × 400, RGB 8-bit, 1,704,206 bytes, containing synthetic ordinary pixel layers Background and Amber card. The test ran locally in the official Web build on macOS 26.2 (25C56), Codex in-app Chromium, at a 1280 × 720 viewport. Browser engine version and WebGPU/WebGL selection were not independently established.
Both layers appeared, but their initial ordering differed from the embedded composite. Toggling Background exposed Amber card over transparency; moving Background beneath it matched the PNG reference, a 640 × 400 RGB 8-bit file of 3,390 bytes. The ordering discrepancy could be fixture encoding or importer behavior and remains unresolved.

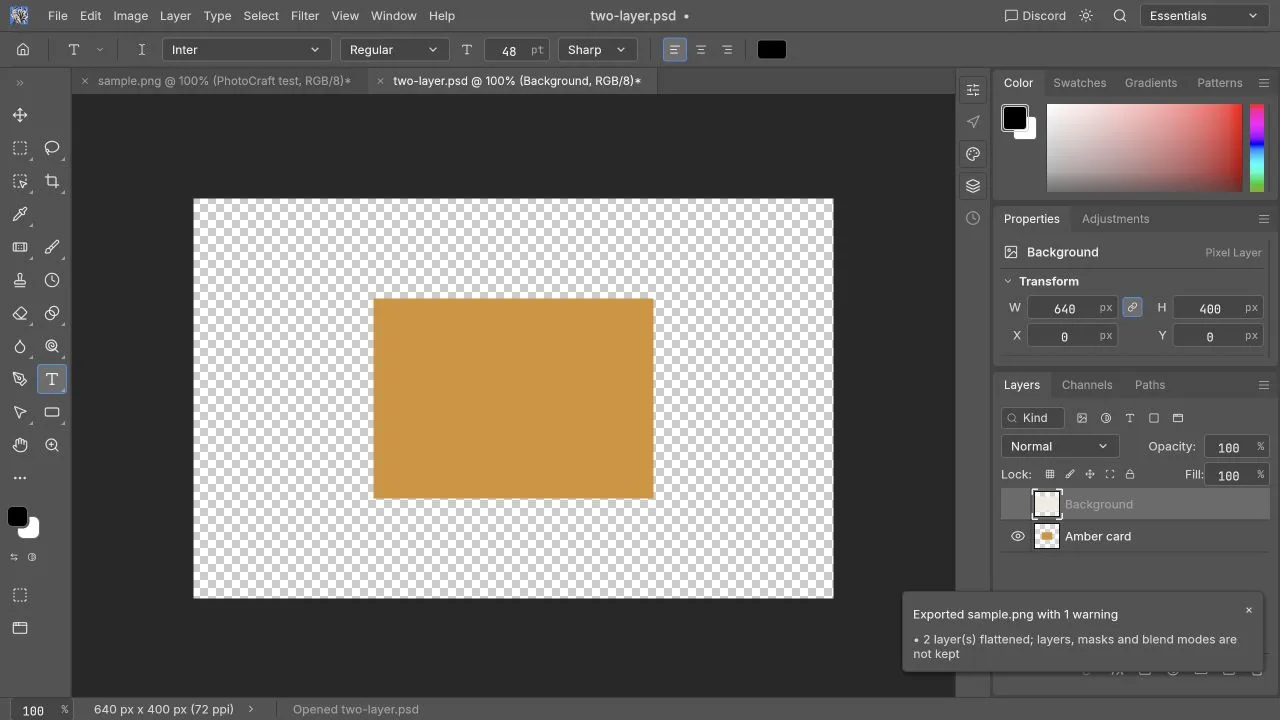
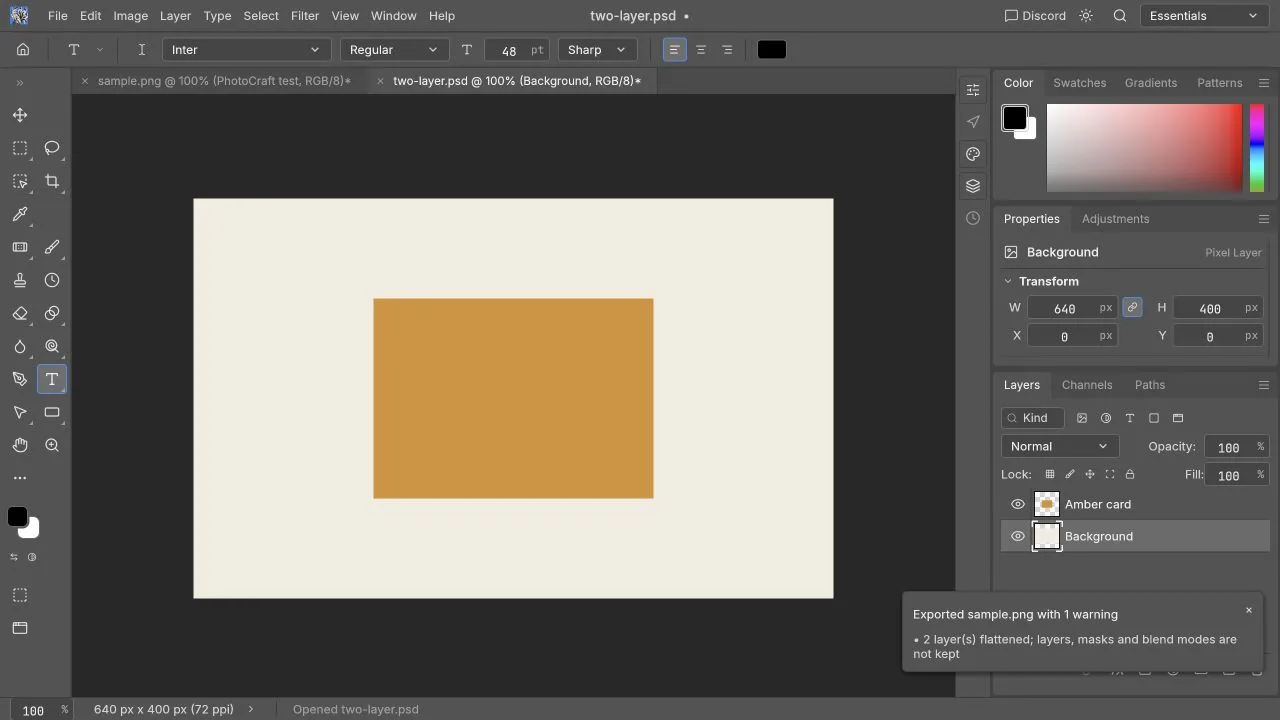
Use this fixture for simple pixel-layer visibility and ordering practice. It does not establish mask editing or complete PSD fidelity. A separate direct Brightness/Contrast operation changed the PNG's pixels, which is different from a verified adjustment-layer workflow.
What changes when you change a layer?
Imagine a simple poster: a photograph underneath, a title above it, and an optional color adjustment. You should be able to edit the title without painting into the photograph. You should also be able to hide the title temporarily to inspect the image beneath it.
| Control | What it changes | Useful check |
|---|---|---|
| Layer order | Which content appears above other content | Move a visible layer and inspect overlap |
| Visibility | Whether a layer contributes to the displayed result | Toggle once and look for the affected region |
| Opacity | The strength of a layer across its visible area | Compare at full and reduced opacity |
| Layer mask | Where that layer is visible | Confirm the mask thumbnail is selected |
| Adjustment layer | A separate change to tone or color | Turn it off to compare the original |
These concepts are general layered-editing guidance. The upstream project lists layer, mask, and adjustment features, but a named feature alone is not evidence of identical behavior for every Photoshop document. Official v0.5.0 feature overview
Prepare an exercise you can undo
Use a small photo copy and add a short title, following the first-edit tutorial. Keep the original outside the editor. If your chosen build supports duplicating a layer, duplicate the photograph before trying a mask. Otherwise, save a separate working project before the experiment.
Write down the intended result: “The title remains above the photograph; one side of the photograph fades; a mild color adjustment can be disabled.” A visible goal prevents you from confusing the existence of a control with a successful edit.
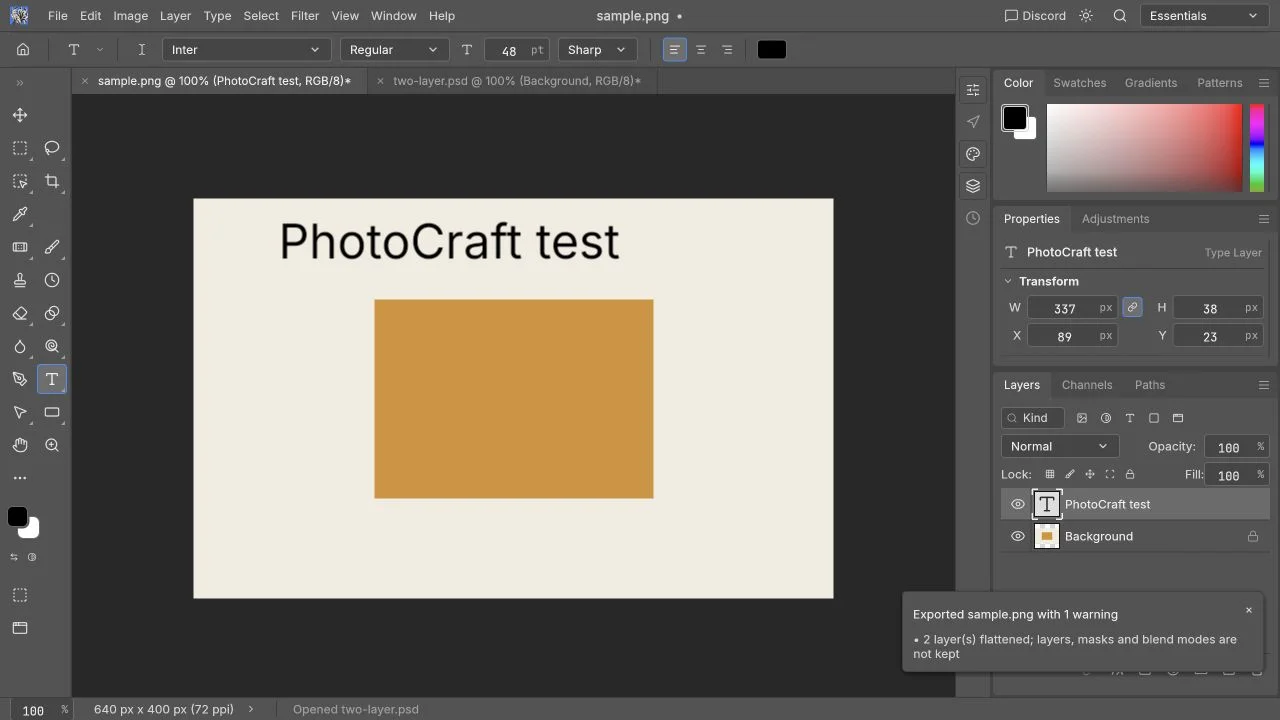
This image helps you locate the real browser workspace. It is not a before-and-after mask exercise. The mask and adjustment-layer instructions below are source-backed procedures awaiting local verification.
1. Identify layers with visibility
Find the title and photograph in the Layers panel. Toggle the title's visibility off and back on. Then repeat with the photograph. If you are inspecting a PSD, expand groups first and watch whether toggling a parent affects several children.
Expected result: the corresponding canvas content disappears and reappears. Use this to locate a layer before moving or deleting it.
If it fails: a hidden parent, an opaque layer above it, a clipping relationship, or an already transparent region can make the change hard to see. Isolate the simplest layer and inspect the surrounding structure. Do not conclude that a layer is empty solely because one toggle appears to do nothing.
2. Check order with a simple overlap
Move the title above the photograph if needed, using the available layer-order control. Keep the caption over a part of the image where its color remains readable. Return it to the original position if the experiment obscures content.
Expected result: the title is visible above the photo. If it drops behind an opaque full-canvas image, it may disappear even though its visibility setting is still enabled.
If it fails: confirm you are moving a layer rather than a group or the canvas object itself. A masked or clipped layer may not behave as a free-standing rectangle. Undo and inspect its dependencies before moving it across groups.
3. Compare opacity without changing color
Select the title or a duplicated image layer and reduce opacity using the control actually exposed by the build. Compare it with the original opacity and restore it when finished.
Expected result: the whole layer becomes less prominent. Opacity is different from changing text color or painting gray into the image.
If it fails: identify the selected layer and check its parent group. In a PSD, opacity and fill can interact differently with effects; do not substitute one for the other without comparing the visible result. Prefer a simple layer for this first exercise.
4. Use a mask to hide rather than erase
If your build exposes a layer-mask action, add a mask to the photograph copy. Select the mask thumbnail before making a small brush mark. In conventional raster masks, white reveals, black hides, and intermediate values partially reveal the layer. Use a small area first and check that the image pixels remain separate from the mask.
Expected result: painting on the mask changes the visible area without directly painting a color over the photo. Painting the opposite mask value should restore the area.
If it fails: stop and Undo. If black paint appears on the picture, you may have selected the image rather than its mask. If nothing changes, check whether the mask is active and whether another layer covers the region. Do not erase the original to imitate a mask while describing the workflow as reversible.
The upstream documentation describes turning a selection into a mask. That is another starting point: select an area and inspect the resulting mask, then test its edges. The exact selection quality is image-specific. Official selection and mask overview
5. Add an adjustment and compare before and after
Choose one available adjustment-layer operation and apply a restrained change. Toggle the adjustment on and off, then observe whether it changes all lower content or only the area you intended. If the build supports masking the adjustment, use the same selected-thumbnail discipline.
Expected result: you can disable the change without restoring the image from an earlier history state. This is the practical value of a separate adjustment layer. Official live-adjustment description
If it fails: remove the new adjustment and confirm the underlying layers still match the starting image. Do not use a stack of compensating adjustments to hide an unexplained import problem.
Mask, clipping mask, or eraser?
A layer mask describes visibility on one layer. A clipping relationship uses another layer's content to constrain visibility. An eraser changes the target pixels or transparency directly. They can sometimes create a similar-looking preview, but they leave different editing options.
Choose a mask when you need to restore hidden content later. Keep clipping relationships intact when modifying a template built around them. Use direct pixel deletion only when that destructive change is intentional and you retain a source copy.
Save the structure, export the appearance
Download a finished image for publication and separately save a supported layered project. Reopen the project and verify the title, mask, opacity, and adjustment independently. Browser downloads are the Web application's Save and Export mechanism. Official Web workflow
If the saved PSD must be opened and edited elsewhere, also check the intended recipient's editor. For those tests, see PSD compatibility. To practice on a template, use the PSD walkthrough and open the editor with a copy.